Install WordPress on various platforms using our guide! We will show you how to install WordPress on various platforms. WordPress is a powerful, free and open-source, highly pluggable and customizable CMS that is being used by millions around the world to run blogs and fully functional websites.
- Installing WordPress on Ubuntu 16.04 VPS
- Installing WordPress on Windows Using WampServer
- Installing WordPress on Mac Using MAMP
How to install WordPress on Ubuntu 16.04 VPS
Before processing with WordPress Installation the following software must have been installed on your Ubuntu VPS such as Apache Web Server, MySQL, and PHP.
Also, you will need an SSH Client to connect to your VPS and nano text editor to edit WordPress configuration files.
Step 1: Install Apache Web Server
Use the below commands to install the Apache 2 Web Server on your Ubuntu VPS:
sudo apt-get install apache2
sudo service apache2 start
To check Apache has been installed properly or not, Open your web browser and enter http://server_address. The Apache2 default index page will be displayed in case the web server is up and running.

Step 2: Install MySQL Database Server
Execute the below command to install the MySQL server which will save your WordPress records.
sudo apt-get install mysql-client mysql-server
During the package installation, you will be incited to set the root user password for MySQL. Pick a decent and secure password, and then double click on the OK button to continue further.
It is prescribed that you secure your installation before continuing. Executing the order underneath will introduce certain modules (counting the validate_password module). Answer Y (Yes) for all inquiries with the exception of the one which asks you to whether you need to change the root password. Enter N (No) for this inquiry and hit Enter.
Step 3: Installing PHP
Executing the below command will install PHP and the required libraries on your Ubuntu System:
sudo apt-get install php7.0 php7.0-mysql libapache2-mod-php7.0
php7.0-cli php7.0-cgi php7.0-gd
To check Ph pos properly installed and working or not, lets create a basic PHP file named test.php in the Apache directory /var/www/html:
sudo nano /var/www/html/test.php
The nano editor window will open up. Paste the below PHP code into the window:
<?php
echo "This is a test";
?>
Press CTRL+O to save the file. Then press CTRL+X to exit.
Now visit the link http://server_address/test.php. You have to see the message “This is a test” on the Screen. If you see this message, then your PHP installation was successful.
Step 4 – Installing WordPress
Download the latest version of WordPress Package and run it by executing the below commands on the terminal.
cd /tmpwget -c http://wordpress.org/latest.tar.gztar -xzvf latest.tar.gz
Then move the WordPress files from the extracted folder to the Apache default root directory,
sudo cp -R wordpress/* /var/www/html/
Next, set the correct permissions on the website directory, that gives ownership of the WordPress files to the web server as follows:
$ sudo chown -R www-data:www-data /var/www/html/

$ sudo chmod -R 755 /var/www/html/
Step 5 – Create WordPress Database
Execute the below command to log in to the MySQL shell:
mysql -u root -p
To create the required database, we just need to execute some commands. Pressing Enter after each line of a MySQL command. Remember to use your own, valid values for the placeholders db_name, db_user and db_user_password:
CREATE DATABASE db_name;GRANT ALL PRIVILEGES ON db_name.*
TO 'db_user'@'localhost' IDENTIFIED
BY 'db_user_password';FLUSH PRIVILEGES;EXIT;
Then Rename wp-config-sample.php to wp-config.php:
cd /var/www/html/sudo mv wp-config-sample.php wp-config.php
Now execute command for nano text editor to update the settings.
sudo nano wp-config.php
with the required settings for your database name, MySQL username, and password. Please note that these must match what you set earlier (db_name , db_user, and db_user_password).
// ** MySQL settings - You can get this info from your web host ** //
/** The name of the database for WordPress */
define('DB_NAME', 'database_name_here');

/** MySQL database username */
define('DB_USER', 'username_here');

/** MySQL database password */
define('DB_PASSWORD', 'password_here');

/** MySQL hostname */
define('DB_HOST', 'localhost');

/** Database Charset to use in creating database tables. */
define('DB_CHARSET', 'utf8');

/** The Database Collate type. Don't change this if in doubt. */
define('DB_COLLATE', '');
Restart Apache and MySQL:
sudo service apache2 restart
sudo service mysql restart
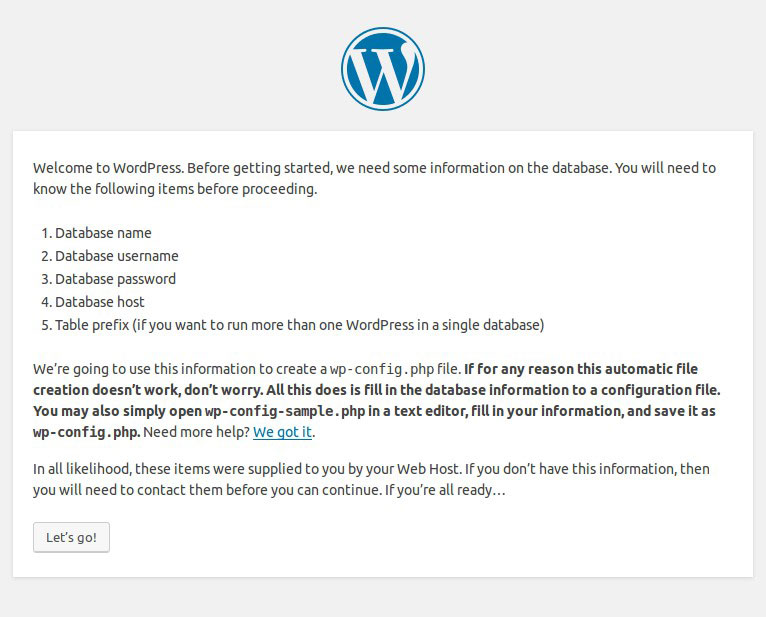
Step 6: Finishing WordPress Installation
Open your browser and visit your server address. Now simply provide required details and complete WordPress installation.
Installing WordPress on Windows Using WampServer
Utilize WampServer to install WordPress locally on Windows. It’s the perfect tool set up WordPress on a local Windows machine. It stands for Windows, Apache, MySQL, PHP
Step 1: Installing WampServer
Download WampServer and install it on your computer. The installation wizard is pretty simple and no custom configuration is needed, so you may need to continue until it finishes. You’ll only be prompted to choose the default browser and text editor that WampServer will use.
Step 2: Creating a database for WordPress
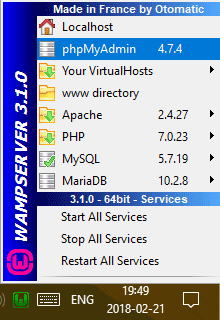
Before proceeding to install WordPress, we will need to create a database. Access WampServer from your taskbar and launch phpMyadmin.
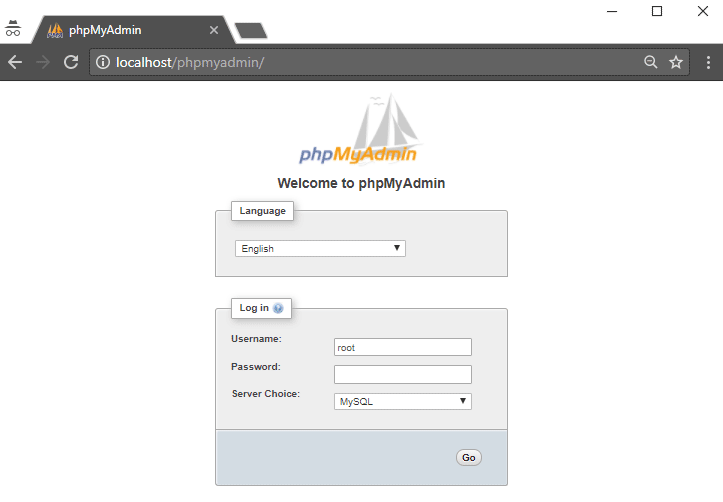
Then, you’ll see a login screen to enter these details:
- Username: root
- Password: (leave it empty)
Navigate to Databases section and create one for your WordPress site.
That’s it! We’re ready to set up WordPress.
Step 3 – Performing WordPress Installation
Download the latest version of WordPress. Upload and extract it to C:/wamp64/www directory on your computer. This folder is your document root.
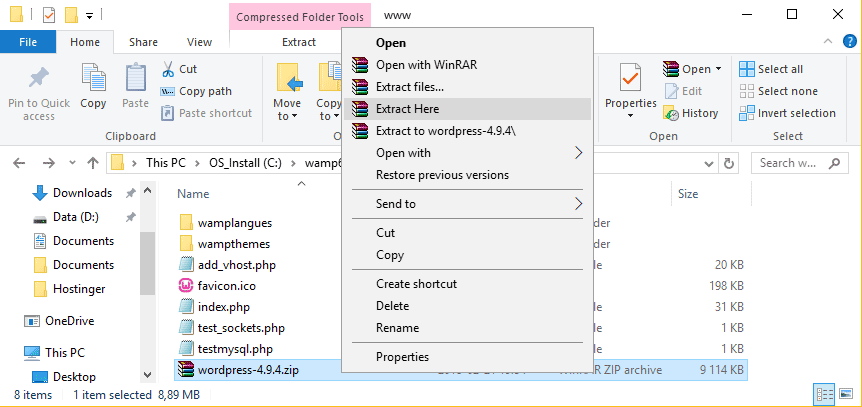
- Once the extraction is done, ready to install WordPress. Now open your browser, enter localhost/wordpress and then choose your language. After that the next step you’ll be prompted with the database details.
Set the following database details:
- Database name: Set the database name that you want to use with WordPress.
- Username – root
- Password – leave this field empty.
- Database Host – localhost
- Table Prefix – the default setting is wp_. You may change it for security reasons.
Then, complete the remaining steps and you’ll have WordPress available on your local Windows machine.
Installing WordPress on Mac Using MAMP
We use MAMP to install WordPress locally on a Mac. It stands for Macintosh, Apache, MySQL, PHP. Using this tool you can start a local PHP and MySQL server. MAMP is the simplest and most efficient tool.
Step 1 – Installing MAMP
Download and install MAMP on your Mac. We’ll be using MAMP version 4.4.1.
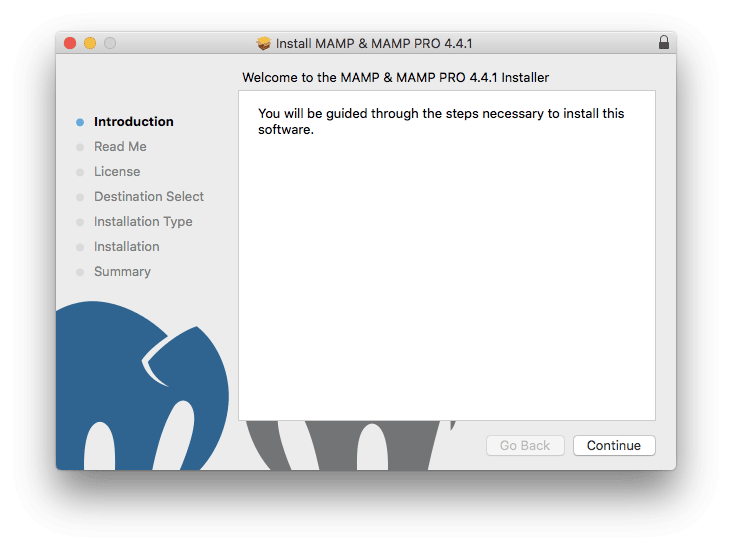
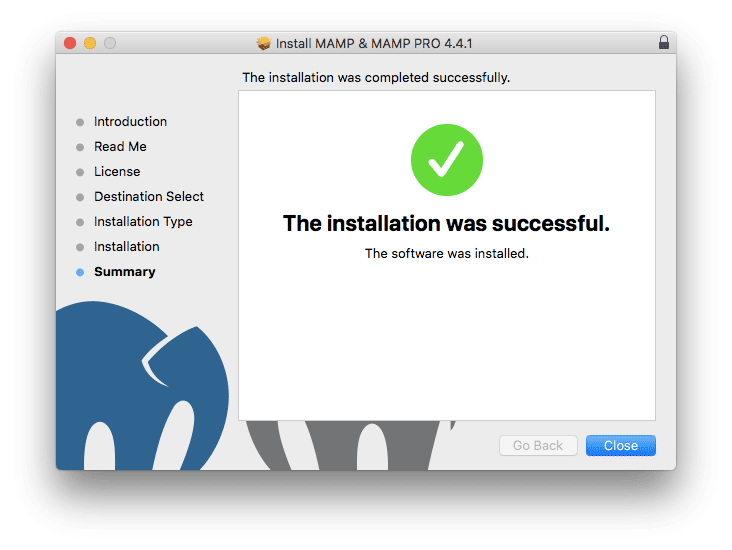
The installation wizard is pretty simple and does not require any custom settings. Continue until the setup is complete.
Step 2 – Configuring MAMP
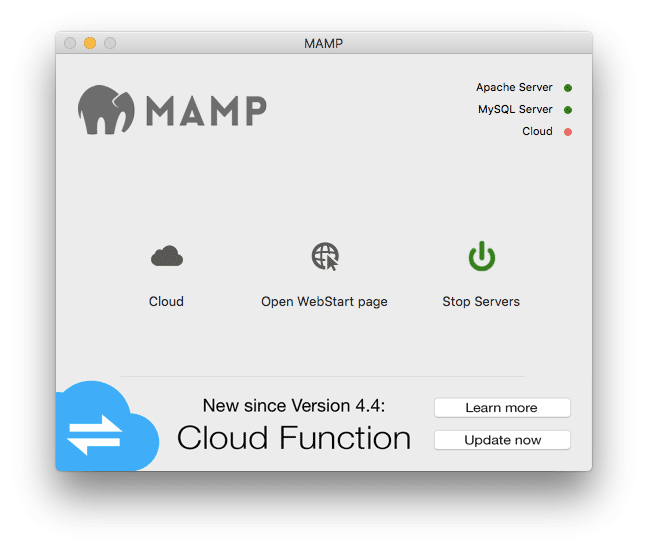
Now set up the software. To make it simpler, we will utilize the default ports and settings MAMP gives. Now, we just need to make a database. To do that, open MAMP and click Start Server. When it completes, select Open WebStart page.
Navigate to Tools – phpMyadmin section.
Once phpMyadmin opens, click New and create a database for WordPress.
Now, we are ready to begin setting up WordPress Locally.
Step 3 – Performing WordPress Installation
Download the latest version of the WordPress and extract it to install. The default MAMP document root is Application/MAMP/htdocs. At this place, you will need toad the WordPress files.
You can then access the WordPress installation wizard by entering localhost:8888 in a browser.
After that, complete the remaining steps and you’ll have a test WordPress environment installed locally.
Recent Comments